Need to record your screen on Windows? Whether you want to create a tutorial, record a presentation, capture gameplay, or save a video call — Windows 10 and 11 have built-in screen recording tools that make it easy. You don't need to install any third-party software!
In this guide, we'll show you all the ways to record your screen on Windows, including built-in tools and free alternatives.

Method 1: Xbox Game Bar (Built-in, No Install)
The Xbox Game Bar is built into Windows 10 and 11. Despite its name, it works for recording any application, not just games.
How to Use Xbox Game Bar:
- Open the app or window you want to record
- Press Windows + G to open the Game Bar
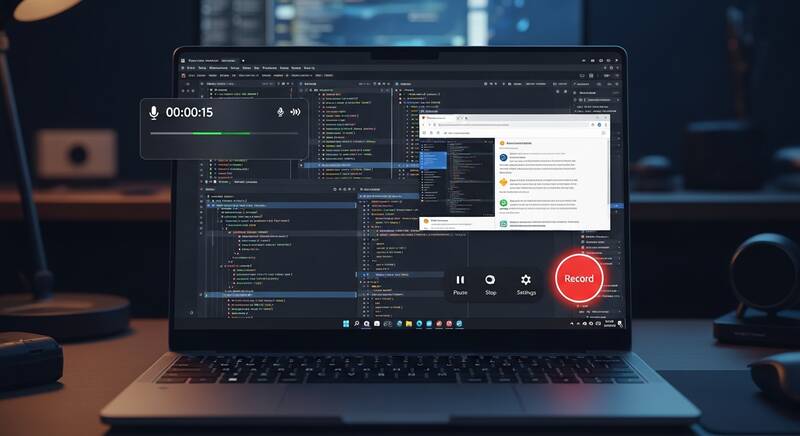
- Click the Record button (circle icon) in the Capture widget
- Or press Windows + Alt + R to start recording immediately
- A small recording indicator appears in the corner
- Press Windows + Alt + R again to stop recording
- Your recording is saved in Videos → Captures folder
Xbox Game Bar Keyboard Shortcuts:
| Shortcut | Action |
|---|---|
| Windows + G | Open Game Bar |
| Windows + Alt + R | Start/Stop recording |
| Windows + Alt + M | Mute/unmute microphone |
| Windows + Alt + Print Screen | Take screenshot |
Limitations: Cannot record the Desktop or File Explorer. Only records the active application window.
Method 2: Snipping Tool (Windows 11)
Windows 11's updated Snipping Tool now includes screen recording:
- Search for "Snipping Tool" in the Start menu
- Click the video camera icon (Record mode)
- Click "+ New"
- Select the area of your screen you want to record
- Click Start
- Record your screen activity
- Click Stop when done
- Save the recording
Advantage over Game Bar: Snipping Tool can record any area of the screen, including the Desktop and multiple windows.
Method 3: PowerPoint Screen Recording
If you have Microsoft PowerPoint, it includes a surprisingly capable screen recorder:
- Open PowerPoint
- Go to the Insert tab
- Click "Screen Recording"
- Select the area you want to record
- Click Record
- Perform your screen activity
- Press Windows + Shift + Q to stop recording
- The video is inserted into your slide
- Right-click the video → "Save Media as..." to save as MP4
Bonus: PowerPoint recording includes audio and can record any part of the screen.
Method 4: OBS Studio (Free, Professional)
OBS Studio is the most popular free screen recording software:
- Price: Free and open source
- Features: Multi-source recording, streaming, scenes, audio mixing
- Quality: Professional-grade recordings
- Download: obsproject.com
How to Use OBS Studio:
- Download and install from obsproject.com
- Run the Auto-Configuration Wizard on first launch
- In Sources panel, click + → Display Capture
- Click OK to add your screen as a source
- Click "Start Recording"
- Record your screen
- Click "Stop Recording"
- Videos are saved in your Videos folder by default
Method 5: ShareX (Free, Feature-Rich)
- Price: Free and open source
- Features: Screen recording, GIF recording, screenshots, annotation
- Format: Records as MP4, GIF, or other formats
- Download: getsharex.com
Comparison of Screen Recording Methods
| Method | Free | Desktop Recording | Audio | Best For |
|---|---|---|---|---|
| Xbox Game Bar | Built-in | No (apps only) | Yes | Quick app recording |
| Snipping Tool | Built-in (Win 11) | Yes | Yes | Area recording |
| PowerPoint | With Office | Yes | Yes | Presentation recording |
| OBS Studio | Free | Yes | Yes | Professional recording |
| ShareX | Free | Yes | Yes | GIF recording |
Tips for Better Screen Recordings
- Close unnecessary apps and notifications before recording
- Clean your desktop if it will be visible
- Use a good microphone for voiceover recordings
- Record at 1080p for clear, professional-looking videos
- Practice your demo before hitting record
- Use keyboard shortcuts to start/stop recording smoothly
FAQ
Can I record my screen with audio on Windows?
Yes! Xbox Game Bar records both system audio and microphone. OBS Studio gives you full control over audio sources and mixing.
What is the best free screen recorder for Windows?
For casual use, Xbox Game Bar (built-in) is the easiest. For professional recordings, OBS Studio is the best free option with the most features.
How to record screen on Windows 10 without software?
Use the built-in Xbox Game Bar by pressing Windows + Alt + R to start recording any application immediately, without installing anything.
Conclusion
Recording your screen on Windows has never been easier. For quick recordings, use the built-in Xbox Game Bar (Windows + Alt + R). For recording specific areas including the Desktop, use the Snipping Tool on Windows 11. For professional-quality recordings with full control, install OBS Studio — it's free and incredibly powerful.